OUTLINE:
How to Clean MAP Sensor by Myself
 389
389The MAP sensor is sometimes ignored during routine maintenance inspections, but it is a part that becomes contaminated with dirt with time, therefore it must be cleaned on a regular basis. In this post, we'll teach you how to clean MAP sensor to restore your car's performance.
Where is MAP Sensor Located
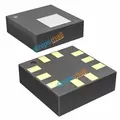
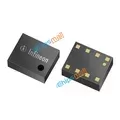
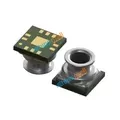
The intake manifold pressure sensor, referred to as MAP sensor, is the main component of the D-type fuel injection system of a gasoline engine. Its function is equivalent to an air flow meter. It is mainly used to measure the amount of air entering the engine and provide it to the engine control computer as a basis for controlling the amount of fuel injection and the ignition advance angle.
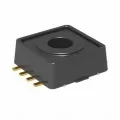
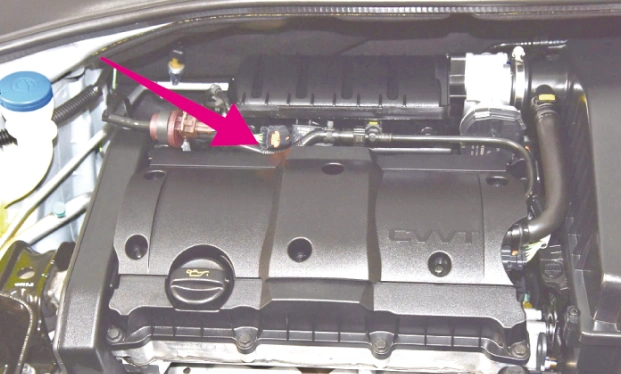
In most vehicles, the compact, black MAP sensor is fitted directly to the intake manifold, which is placed on top or to the right of the engine. The MAP sensor is normally located behind the silver throttle body and is connected to an electrical connector that is hooked to a set of wires. There is normally a rubber vacuum hose that connects to the sensor. The suction pipe in some autos obscures the MAP sensor.
Why We Need to Clean MAP Sensor
We know that the ideal air-fuel ratio of a gasoline engine is 14.7:1, which can be simply understood as 14.7 parts of air with 1 part of fuel. After being fully mixed and atomized, it can be completely burned by the engine. The final product is only water and carbon dioxide, and there is no toxic and harmful gas such as carbon monoxide that is not completely burned and oxidized. Of course, this is an ideal, which can be infinitely approached but difficult to fully achieve. From this ratio, it is not difficult to know that we must first know how much air enters the engine? Then we can decide how much fuel to allocate on this basis.
There are many ways to measure the amount of air entering the engine. Using an intake manifold pressure sensor is one of the important forms. This method is widely used in most existing cars because of its small component size, easy layout, high measurement accuracy, and good working stability.
The working principle of the intake manifold pressure sensor is to obtain the density of the air by measuring the absolute pressure in the intake pipe, and calculate the amount of air entering in accordance with the engine speed. It should be noted here that the manifold between the throttle and the intake valve of an ordinary engine is generally in a vacuum state. Except for supercharged engines. The intake power of an ordinary gasoline engine comes from the suction of the piston, that is, the piston end is the active end, and the throttle is usually closed, so the demand is greater than the supply, so the manifold will produce a vacuum. Even if the throttle is fully opened, due to the resistance of the air flow, there is a certain hysteresis, and the active end is the piston, so a vacuum will still be generated, but the vacuum is lower. From this reason, it is not difficult for us to see why turbocharged engines can generate greater power. The main reason is that the air is not passively inhaled, but actively injected. The larger the amount of air, the higher the compression rate, and of course the greater the power.
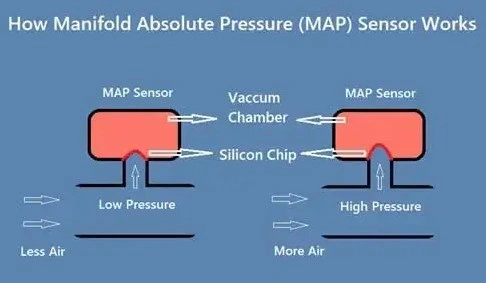
The intake manifold pressure sensor also has a variety of models and working modes, which can be divided into semiconductor varistor type, capacitor type, diaphragm box type, and bellows type. The most widely used is the piezoresistive type, whose working mechanism is that when the piezoresistive semiconductor is deformed by pressure, its resistance changes proportionally with the deformation. People artificially create a complete vacuum chamber on one side of the piezoelectric crystal of the piezoresistive intake manifold pressure sensor, and connect the other side to the intake manifold. With a reference, the change in absolute pressure in the manifold will be proportional to the resistance of the piezoelectric crystal. By measuring the change in resistance, the change in pressure in the manifold can be indirectly known, and the intake volume can be calculated in conjunction with the engine speed.
Knowing the working principle and working mode of the intake manifold pressure sensor, it is not difficult for us to know that when the intake manifold pressure sensor has too much carbon deposits and is very dirty, the intake pressure detection will not be so accurate and sometimes it will cause air-fuel ratio disorder, resulting in idle jitter, poor acceleration, increased fuel consumption and other faults. So you can try cleaning it first. If cleaning does not work or the fault cannot be cleared, then the sensor may be broken, and the above phenomena will occur. Then we need to replace it. The way to maintain the intake manifold pressure sensor is to ensure that the channel at the manifold end is unobstructed and not blocked, keep the vacuum chamber intact, and do not pry the sensor body at will.
How to Clean MAP Sensor
Preparation
Park your car, turn it off, and let the engine cool. Because the manifold absolute pressure (MAP) sensor is connected to your vehicle's electrical system, you must turn it off before removing it.
Simply choose a flat area to park your car on, such as your driveway, and switch it off. Then, let the engine cool for about 10 minutes.
After 10 minutes, open your car's hood and gently touch the engine. If it's still warm, give it another 5 minutes to chill.
Step 1 Disconnect the battery
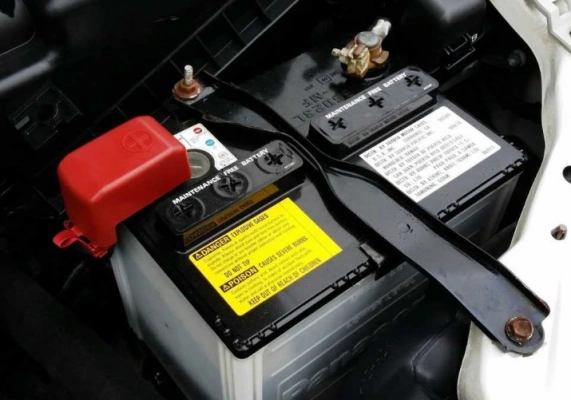
To ensure safety, disconnect your car's battery. Locate your car's battery underneath the hood and look for the negative terminal on top. Typically, it is hidden by a black cap or labeled with a "-" on top of the connector. Then, using a socket wrench, loosen the nut on the negative terminal by turning it counterclockwise. Disconnect and move the negative connector away from the battery.
Repeat the procedure with the positive terminal and connector. The positive terminal is usually covered in a red cap or denoted with a "+" sign.
Step 2 Unhook the vacuum line
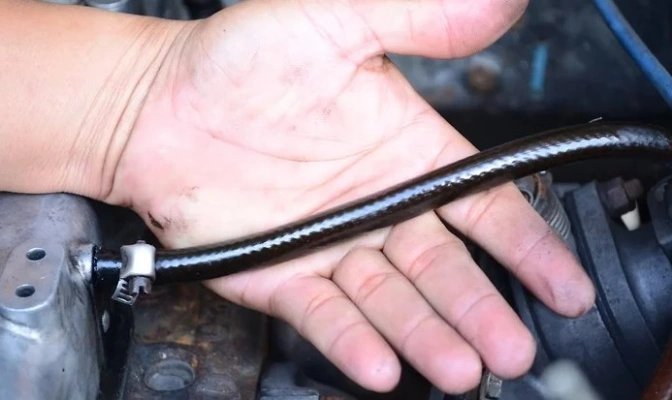
If the vacuum tube covers your car's MAP sensor, simply detach the vacuum line using needle nose or retaining ring pliers.
Simply insert your pliers into the two holes on the ring encircling the vacuum tube. Then, squeeze the pliers together to expand the ring and release it from the vacuum. Remove any remaining rings from the tube until you can completely disconnect the vacuum line from the MAP sensor.
Step 3 Unscrew the bolts
Unscrew the bolts or screws that secure the sensor to your car. Depending on your vehicle, your MAP sensor may be linked to the intake manifold by 1 to 2 nuts or screws. Simply flip them counterclockwise using a socket wrench or screwdriver and remove from the vehicle.
Step 4 Remove the MAP sensor
Unhook the electrical connector and remove the MAP sensor. Find the black electrical connector that is connected to the MAP sensor. Simply press down on the clip that is plugged into the sensor and pull back on the connector to remove it. Then, lift the sensor and gently wriggling it back and forth to remove it from your vehicle.
If there is no clip, disconnect the electrical connector from the MAP sensor by pressing and pulling the locking tab.
Step 5 Clean the MAP sensor
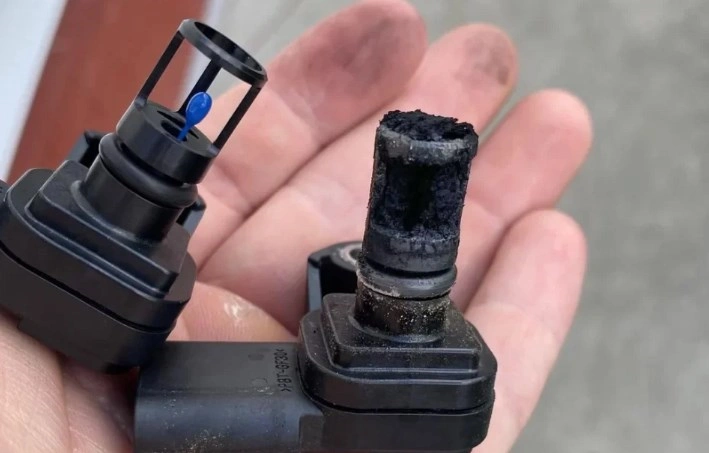
Spray the MAP sensor with specific sensor cleaner, holding the sensor with the cylindrical part facing down. Carefully spray 2-3 bursts of the cleaner onto the sensor until it is free of any buildup or debris. Avoid touching the sensor directly, as it contains delicate parts that can be easily damaged.
Wipe the exterior of the MAP sensor with cleaner and a clean, dry rag. Gently rub the sensor's exterior to remove any remaining contaminants, being cautious not to damage the delicate components.
Shake off any excess cleaner from the MAP sensor and let it dry for about 5 minutes. Gently shake and wiggle the sensor to remove any remaining cleaner inside, then leave it in the sun to fully dry before reassembly.
Tips When Cleaning the MAP Sensor
- Cleaning the MAP sensor may appear to be a simple procedure, but you must proceed with extreme caution. Wear sturdy gloves and safety eyewear to protect your skin and eyes.
- It's also advisable to avoid physically handling the sensor and using compressed air, as both might be harsh on the semiconductor.
- Use only the specified cleansers for the MAP sensor. Avoid using carburetor and brake cleaners since they can leave residue inside the sensor, affecting its operation.
Advice
A functioning MAP sensor can optimize your engine’s performance and fuel economy. It’s recommended to clean the MAP sensor every 30,000 to 50,000 miles as part of regular vehicle maintenance. Knowing how to clean MAP sensor by oneself may help you save your unnecessary cost.

Disclaimer: The views and opinions expressed by individual authors or forum participants on this website do not represent the views and opinions of Chipsmall, nor do they represent Chipsmall's official policy.

share this blog to:


