OUTLINE:
How to Connect Armoured Cable to Junction Box
 1180
1180Armored cable, also known as armored or BX cable, has a metal sheath that provides protection for the enclosed conductors. This passage gives instructions on how to connect armoured cable to junction box and provides dos and don’ts while working with armored cable.

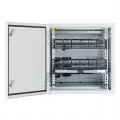
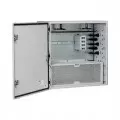
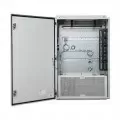
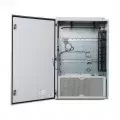
10 Steps to Connect Armoured Cable to Junction Box
Connecting armored cable to a junction box involves a specific process to ensure a secure and safe electrical connection. Here are general steps to connect armored cable to a junction box:
Materials and Tools Needed:
- Armored cable
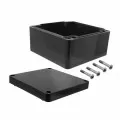
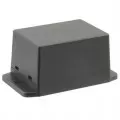
- Junction box
- Appropriate cable connectors (usually armored cable connectors)
- Screwdriver
- Cable stripper
- Utility knife
- Pliers
Step 1: Turn Off Power
Ensure that the power to the circuit is turned off at the breaker or fuse box. Use a voltage tester to confirm that there is no live voltage at the junction box.
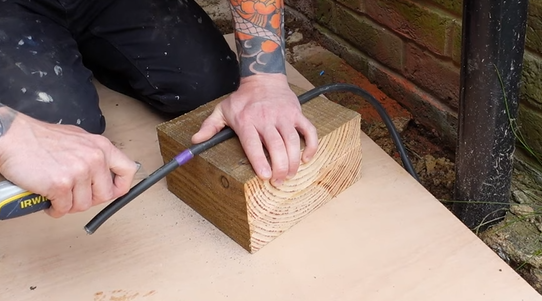
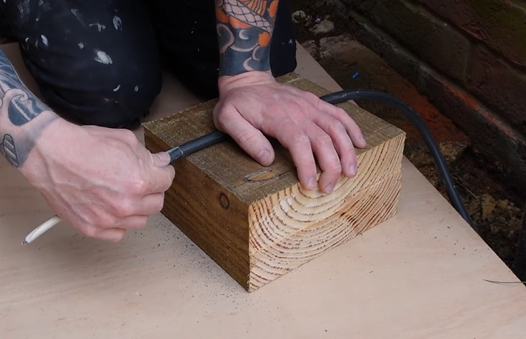
Step 2: Prepare the Cable
Strip the outer sheath of the armored cable using a cable stripper or utility knife. Follow the manufacturer's guidelines for the appropriate length of sheathing to strip.
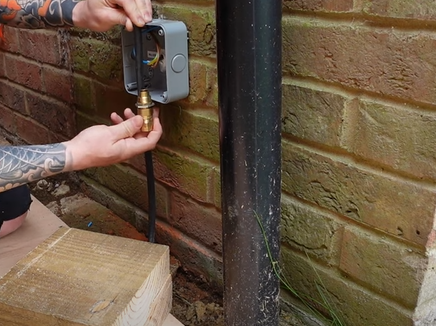
Step 3: Insert the Cable into the Box
Insert the stripped end of the armored cable into one of the knockout holes in the junction box. Ensure that there is enough cable inside the box for making the connections.
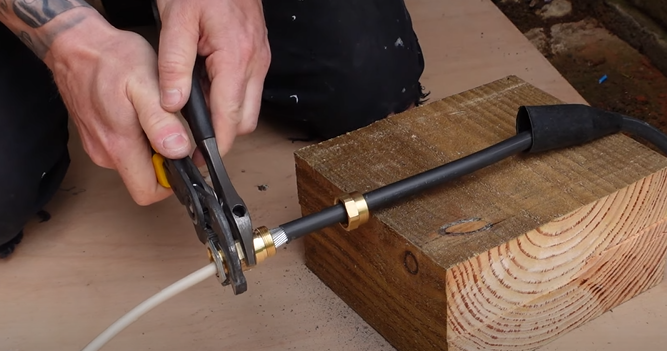
Step 4: Install Cable Connector
Use an appropriate cable connector (armored cable connector) to secure the cable to the junction box. Tighten the connector securely to provide strain relief and to ensure that the cable is properly attached to the box.
Step 5: Strip the Insulation
Strip the insulation from the individual conductors inside the cable using a cable stripper or pliers. Strip the wires to the length specified by the connector or the junction box.
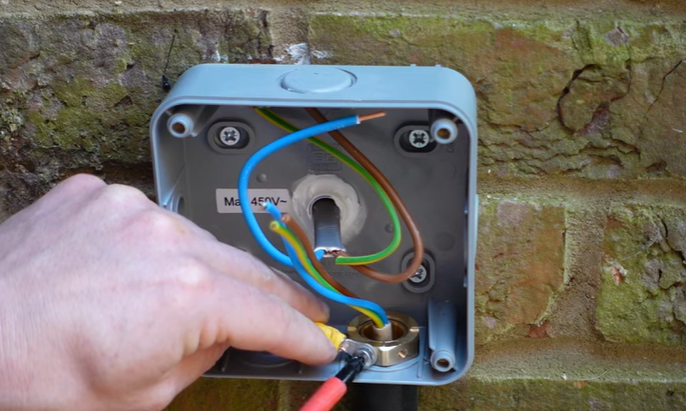
Step 6: Connect the Wires
Connect the individual wires from the armored cable to the corresponding terminals in the junction box. Follow the color-coding or labeling on the wires and terminals.

Step 7: Secure the Cable
Secure the armored cable inside the junction box using cable clamps or additional cable connectors, if necessary. This helps prevent strain on the wire connections.
Step 8: Grounding
Ensure that the grounding wire (usually a bare or green wire) is properly connected to the grounding terminal in the junction box. Follow local electrical codes for grounding requirements.
Step 9: Close the Junction Box
Once all connections are made, close and secure the junction box cover. Tighten any screws or fasteners to ensure that the box is properly sealed.
Step 10: Turn On Power
After making all the connections and securing the junction box, turn the power back on at the breaker or fuse box. Test the circuit to ensure that it is functioning properly.
Remember to consult local electrical codes and regulations when performing electrical work. If you are uncertain about any aspect of the installation, it's advisable to seek the assistance of a qualified electrician. Electrical work should always be done with safety as the top priority.
Working with Armored Cable: Dos and Don'ts
Working with armored cable requires careful attention to safety and proper installation practices. Here are some dos and don'ts to keep in mind when working with armored cable.
Dos
1. Turn Off Power
Always turn off the power to the circuit at the breaker or fuse box before working with armored cable. Use a voltage tester to confirm that there is no live voltage.
2.Wear Safety Gear
Use appropriate personal protective equipment (PPE) such as gloves and safety glasses to protect yourself from potential injuries.
3. Follow Local Codes
Adhere to local electrical codes and regulations when installing armored cable. This ensures compliance with safety standards.
4. Use the Right Tools
Use tools specifically designed for working with armored cable, including cable strippers, pliers, and armored cable connectors.
5. Inspect the Cable
Before installation, inspect the armored cable for any damage, kinks, or defects. Damaged cable should be replaced.
6. Secure Cable Properly
Secure the armored cable to the junction box using appropriate cable connectors. This provides strain relief and ensures a secure connection.
7. Grounding
Ensure that the grounding wire in the armored cable is properly connected to the grounding terminal in the junction box. Follow local codes for grounding requirements.
8. Proper Stripping
Use a cable stripper to strip the outer sheath of the armored cable to the length specified by the manufacturer. Avoid damaging the inner conductors during the stripping process.
9. Labeling
If working with multiple cables or conductors, label the cables for easy identification. This is especially important when making connections in junction boxes.
10. Secure Connections
Make sure all wire connections are secure and properly tightened. Loose connections can lead to electrical hazards.
Don’ts
1. Don't Over-Tighten Connectors
Avoid over-tightening armored cable connectors, as this can damage the cable or the connector itself. Follow the manufacturer's guidelines for tightening.
2. Don't Mix Cable Types
Avoid mixing different types of cables in the same installation unless explicitly allowed by local codes. Use the correct type of cable for the specific application.
3. Don't Use Damaged Cable
Do not use armored cable that is damaged or compromised. Damaged cable should be replaced to ensure a safe and reliable installation.
4. Don't Ignore Grounding
Neglecting to properly ground the armored cable is a safety hazard. Ensure that the grounding wire is securely connected to the grounding terminal in the junction box.
5. Don't Exceed Bend Radius
Avoid excessive bending of the armored cable beyond the manufacturer's recommended bend radius. Excessive bending can damage the cable and affect its performance.
6. Don't Ignore Safety Procedures:
Follow established safety procedures when working with electricity. This includes turning off power, using appropriate tools, and wearing safety gear.
7. Don't Rush
Take your time during the installation process. Rushing can lead to mistakes or unsafe conditions.
Always consult with local authorities and adhere to applicable regulations when working with armored cable. If you are unsure about any aspect of the installation, seek the advice of a qualified electrician. Safety should always be the top priority when working with electrical systems.
Final Verdict
This passage gave instructions on how to connect armored cable to a junction box and some tips while operating it. Don’t forget to consult with local authorities and adhere to applicable regulations when working with armored cable. I hope you find it informative.
Relevant articles about cables: Everything about Audio Cable Types
Disclaimer: The views and opinions expressed by individual authors or forum participants on this website do not represent the views and opinions of Chipsmall, nor do they represent Chipsmall's official policy.

share this blog to: