OUTLINE:
How to Crimp Spade Connectors Safely
 200
200Crimping spade connectors offer a simple and effective way to make secure and reliable electrical connections, empowering you to tackle projects with confidence and precision. By utilizing the crimping technique, which involves compressing the connector onto the wire, you can achieve a strong and stable connection that minimizes the risk of accidental disconnection or electrical failures.
What Do Crimping Spade Connectors Look Like
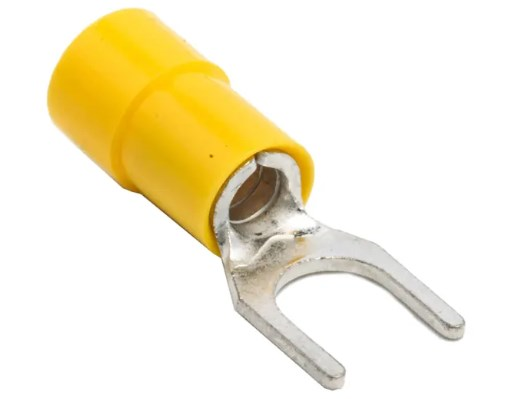
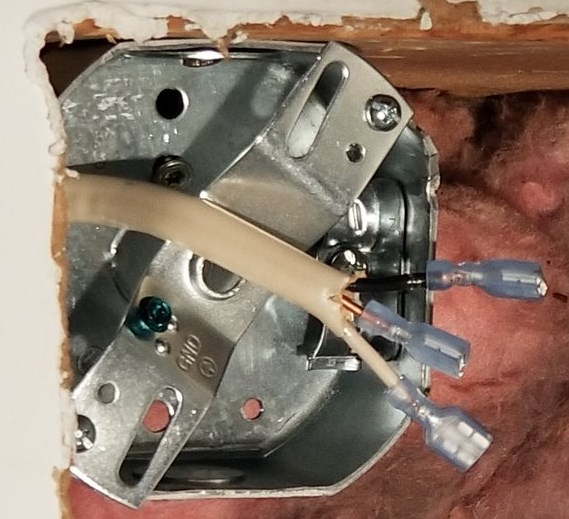
Spade connectors have a flat, forked end that wraps around a screw terminal.They provide a secure connection for attaching wires to switches, outlets, and other devices.
Shape:
- Body: Flat and wide, shaped like the head of a spade shovel. This broad surface area provides ample contact with the terminal block or screw-on post for a secure connection.
- Tongue: Some spade connectors have a narrow extension called a tongue that inserts into the terminal block slot for additional stability.
Material:
- Typically made of tin-plated copper or brass for good conductivity and corrosion resistance.
Dimensions:
- Available in various sizes to match different wire gauges. The wider the connector, the thicker the wire it can accommodate.
- You can find small spade connectors suitable for thin wires used in electronics projects, and larger ones for heavy-duty applications like car batteries.
Color:
- Usually silver or gold due to the metal base material. Some manufacturers might offer color-coded connectors for easier identification of wire sizes or applications.
Additional features:
- Some connectors have insulation sleeves attached to prevent accidental short circuits and protect hands from touching live wires.
- Crimping grooves or markings might be present to guide the correct tool placement for a perfect crimp.
What Do Crimping Spade Connectors Use For
Crimping spade connectors have a wide range of uses, but their primary function is to create secure and reliable electrical connections between wires and terminals. They often come in handy for the following:
Automotive:
- Connecting wires to batteries, starter motors, lights, sensors, and other electrical components.
- Extending existing wiring harnesses for aftermarket installations or repairs.
- Replacing damaged or corroded wire connections.
Audio/Video:
- Linking speakers to amplifiers and receivers.
- Connecting power supplies to audio equipment.
- Extending wires for subwoofer setups or custom installations.
Appliance Repair:
- Replacing faulty connections on household appliances like toasters, blenders, lamps, and switches.
- Upgrading internal wiring for higher amperage needs.
- Repairing damaged power cords or internal connections.
DIY Projects:
- Adding lights, switches, and other electrical elements to custom creations.
- Building electronic circuits and prototypes for hobbyists and makers.
- Extending power to remote areas in a workshop or garage.
General Electrical Work:
- Connecting low-voltage lighting systems like LED strips or landscape lighting.
- Extending power to security cameras, doorbells, or other outdoor devices.
- Creating temporary or portable electrical connections for events or maintenance tasks.

How To Crimp Spade Connector
Crimping spade connectors might seem daunting initially, but with a few simple steps and the right tools, you can create strong and reliable electrical connections like a pro!
1. Gather Your Tools:
- Spade connectors: Choose the right size based on your wire gauge (diameter).
- Wire strippers: These remove insulation from the wire ends.
- Crimping tool: Select one compatible with your connector size and type.
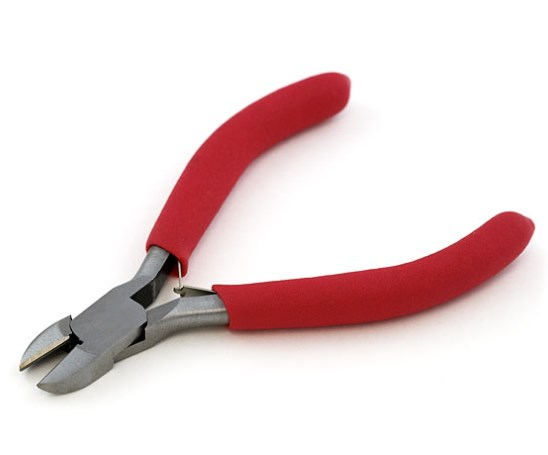
- Diagonal cutters (optional): For trimming excess wire after crimping.
- Safety glasses and gloves: Always prioritize safety when working with electricity.
2. Prepare The Wire:
- Strip the wire: Use the wire strippers to remove around 1/4 inch of insulation from the wire end, exposing the bare copper.
- Twist the copper strands: Tightly twist the exposed copper strands together for a secure connection.
- (Optional) Tin the wire ends (only for certain connectors): If using uninsulated spade connectors, apply a thin layer of solder for corrosion resistance.
3. Crimping The Connector:
- Insert the wire: Open the crimping jaws of your tool and slide the stripped wire end, twisted strands facing down, into the appropriate crimp cavity.
- Position the connector: Place the spade connector over the exposed wire and the crimp cavity, ensuring everything aligns properly.
- Crimp: Squeeze the crimping tool handles firmly to compress the metal around the wire and secure the connection. Most tools have indicators to ensure adequate crimping.
- Inspect the crimp: Check for a clean and even crimp without gaps or damage. If necessary, recrimp with proper alignment.
- (Optional) Trim excess wire: Use the diagonal cutters to trim any excess wire protruding from the crimped connector.
Where to Buy Quality Spade Connectors
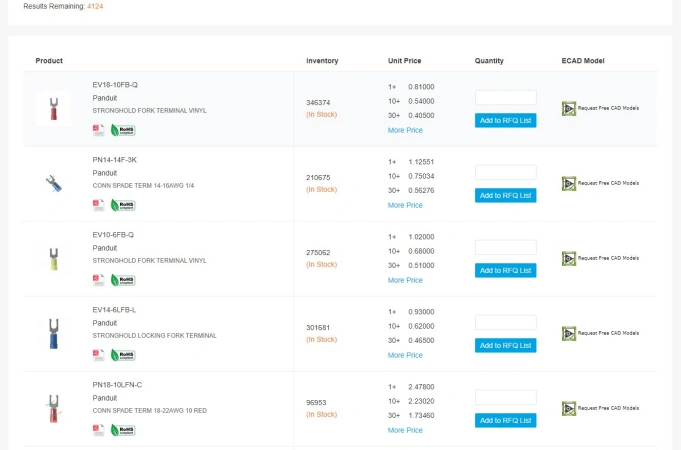
Chipsmall, with its global-leading comprehensive strength, complete supply chain management system, and excellent customer reputation, strives to provide quality electronic components for our clients. With over 4,000 spade connectors in stock, you can easily choose the products you need.
Add the products to the RFQ lists, and our sales team will reply to you within 24 hours.
Conclusion
By following these steps and prioritizing safety, you can confidently crimp spade connectors like a seasoned pro! Feel free to ask me any further questions about how to crimp spade connectors. I'm always happy to help you navigate the world of electrical connections.

Disclaimer: The views and opinions expressed by individual authors or forum participants on this website do not represent the views and opinions of Chipsmall, nor do they represent Chipsmall's official policy.

share this blog to:


